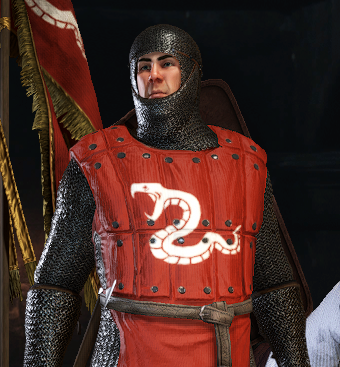
Sigil on the Armors
Definition
Sigil - A symbol, often a real or mythical animal, which is meant to symbolize to person/family/office. The sigil could appear as part of the coat of arms, upon a seal, a shield, as decor, etc. The sigil is the symbol, not an object.
Others call it 'banner', 'emblem', 'coat of arms', 'clan symbol', etc.
Create Material
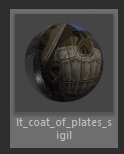
Create or copy the material, name it MODELNAME_sigil or similar:
Create FBX
In the Blender create FBX and set it's material name to MODELNAME_sigil:

Do the same with _slim version if you have it.
Make sure you named the material properly to avoid such problems
TableuMaskMap
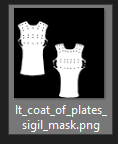
Create mask to tell the game where to draw your sigil on the armor.
White should determine where the sigil should be visible on the armor:
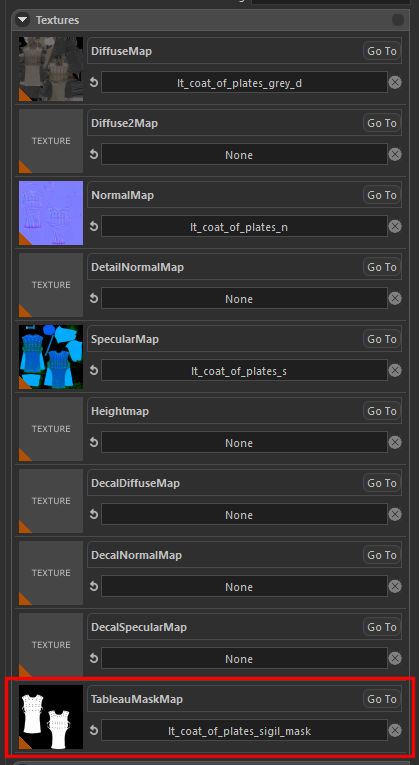
Import it into the Editor and assign it to the TableuMaskMap:
The surface of the armor model where the sigil pattern is will not show any textures (such as the mud and the cloth fold) other than the flag pattern itself.
There are two solutions:
1. Make the TableauMaskMap a greyscale image instead of a pure black and white image.
2. Use the method same with the vanilla shields. You will see that the vanilla shields also use banner sigil.
Configure material
Enable use_tableau_blending and use_tableau_mask_as_separate_texture flags on the material of the armor:
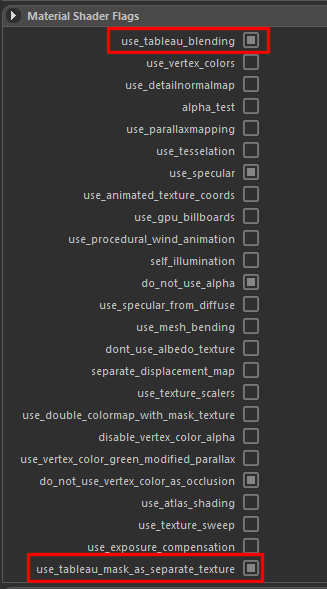
Press Save. Armor parts where sigil should go should become dark:

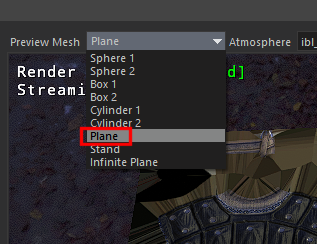
Position the sigil
In the Preview Mesh' selectPlane` for better view:
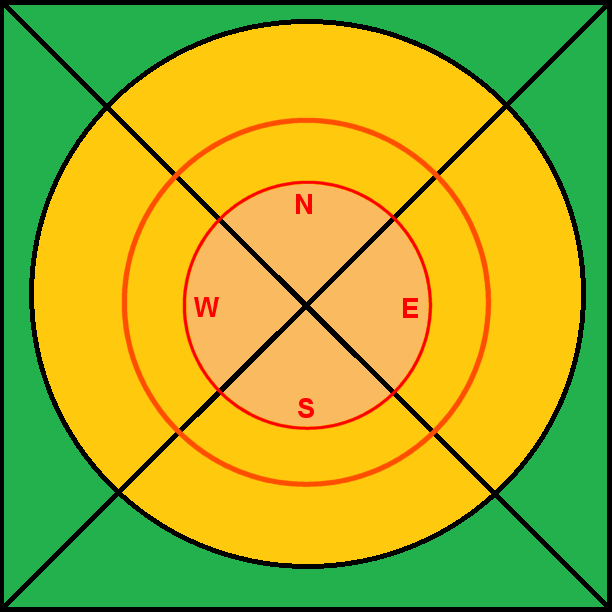
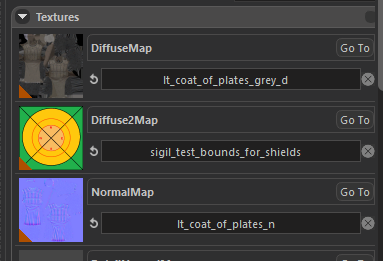
In Diffuse2Map add sigil_test_bounds_for_shields for better positioning (Inner circle shows the place where the sigil will be present). This is quick and easy way to properly position the sigil.
Take it from here:
The clans's sigil/emblem is added to the armor by adjusting Vector Argument 1 under the Vector Arguments tab on the material. x, y determines the position. z, w determines the scale:
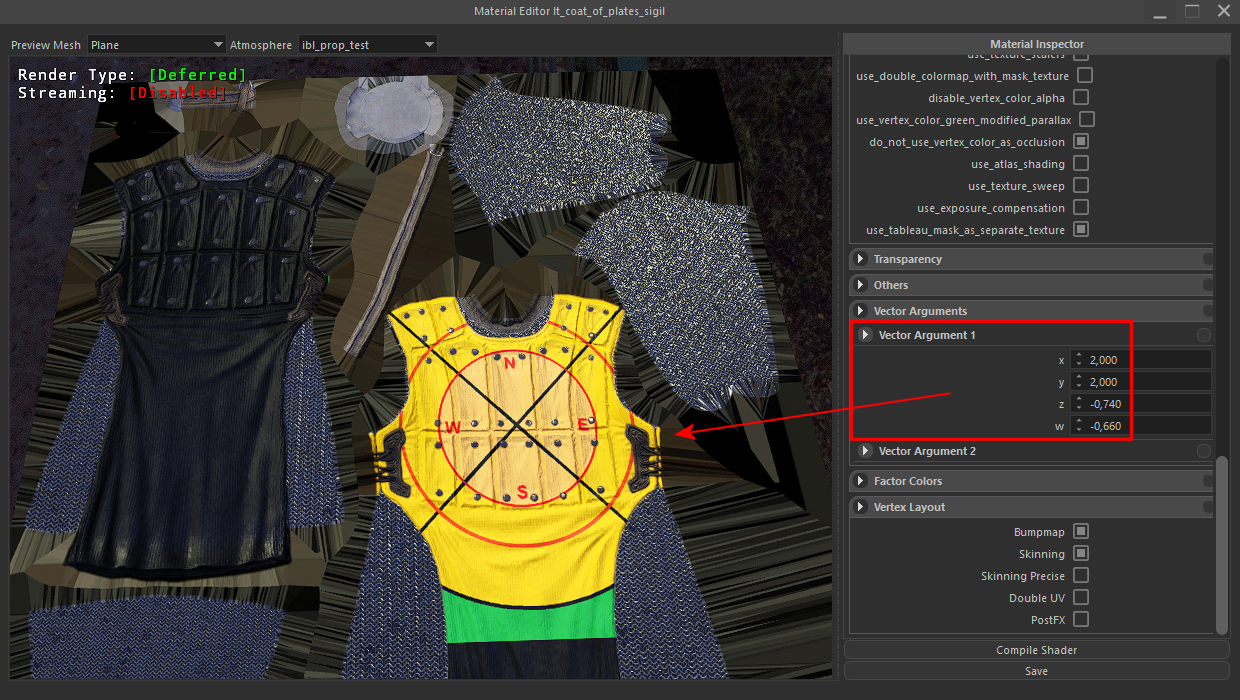
If you need to turn the sigil upside down, use minus sign for the y field in the Vector Argument 1. Mirror reflection - use minus x. Couldn't find the options to rotate 90 degrees though...
Whatever the sigil's background color is, whatever the cloth color will be.
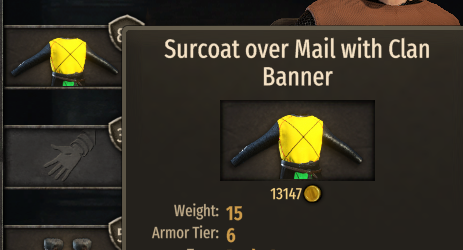
When the sigil is placed properly - REMOVE the Diffuse2Map and Save your material. Otherwise you will see this yellow picture instead of your real sigil in-game.
Tags
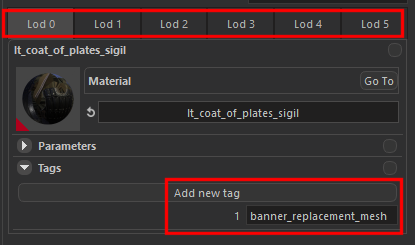
Add Tags to the model:
Find the mesh (armor) and give the material that uses the TableauMaskMap banner_replacement_mesh tag for each LOD and Save:
LOD problem
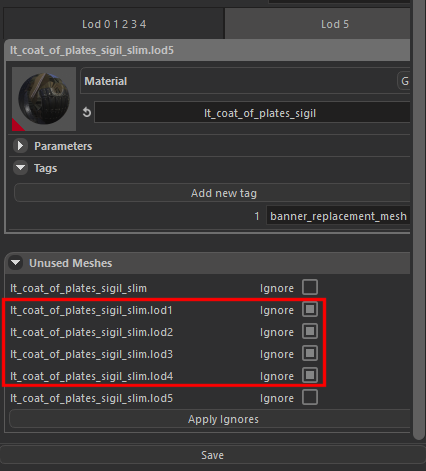
It seems that only LOD0 works!
Looks like this for other LODs:
Temporary "solution" to disabled broken LODs (I leave LOD5 on because it's too far away to care with a hope to save on performance):
Do the same for the _slim version if you have it.
Snorri: hmmm... it will require more work, but what if make two materials, one that change whole texture to bannner, and use it for lod 1, and make another material that just change armor collor to one banner use and use this to other lods? It will be less viable then rapid full color swap and allow more lods to be used
XML
Give using_tableau="true" flag to your armor item in the xml:
Example:
<Item id="lt_coat_of_plates_sigil" name="{=lt_coat_of_plates_sigil}Coat of Plates with Sigil" mesh="lt_coat_of_plates_sigil" using_tableau="true" culture="Culture.danish" weight="18" Type="BodyArmor" appearance="8" difficulty="0" subtype="body_armor">
    <ItemComponent>
        <Armor body_armor="50" leg_armor="17" arm_armor="14" has_gender_variations="false" covers_body="true" modifier_group="chain" material_type="Chainmail" />
    </ItemComponent>
    <Flags UseTeamColor="false"/>
</Item>
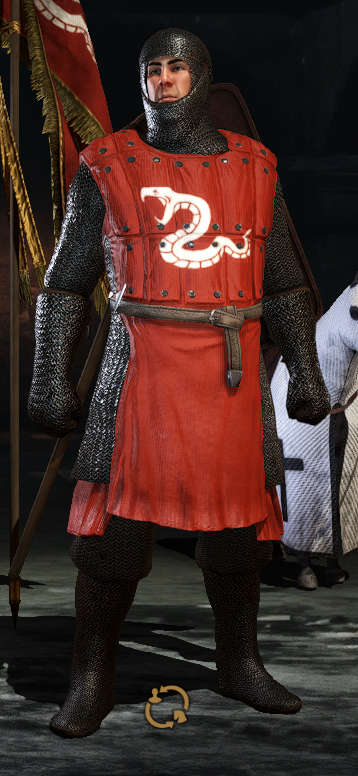
Test
Test in the game, adjust if necessary.
Problems
Bleeding Edges

Yellow mask in the game
You forgot to delete the positioning mask in this step.