Decals
Huge thanks to npc99 who answered my questions about the decals and helped to move along step-by-step. Without his help, I would not be able to create my decals at all.
What is a Decal?
Decals are a way of projecting materials into other geometries.
They can affect the following channels of the PBR shading pipeline: Albedo, Normal, Specular, Gloss, and Occlusion. Thus, changing the final appearance of other meshes and materials.
They can be used to add variety to the scene like dirt, mud and moss.
Also, they are a useful tool to break texture tiles on the meshes.
Their projection geometries are cubes and they are projected in the Z direction.
Native decals
There are native decals in the game that look nice and support partial transparency. Example:

Unfortunately, I was not able to make my own that look as good.
Are we limited to square decals without transparency or decals without partial transparency with messed up colors (see below)?
Why these decals are not visible on the world map?
I can see only these native decals on the world map:

npc99: Custom decals work differently. TW decals are optimized into atlases (where the material editor may be looking for an image to display) so you can use TW's ones unchanged but they'll fail if you try to override them. Custom decal materials must be added to a decal mesh in the scene.
Workflow for a custom decal
- Create the image (DiffuseMap) for your decal (Simple PNG 1024x1024 was ok for me)
- Import Texture
- Setup Decal Material
- Setup Decal Prefab
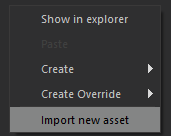
Import Texture
Import your PNG in the Resource Browser:
As I needed a decal for the terrain, I marked "For Terrain", but it works without it also, so not clear what is the purpose of this setting:

This is a hint from the Editor, about what is necessary for the Material that can be used for terrain:

Transparency
It is possible to have transparency with decals, but somehow very limited.
npc99: If you want full transparency, your diffuse must be fully transparent in the areas you don't want to see. Look in the editor's texture inspector, and click off all channels apart from alpha. It should be simple black and white. Black = transparent, white = texture. I suspect your diffuse is partially opaque - that won't work.
For example, this PNG has partial transparency:

and the final result is like this (only eyes and edges have full transparency):

Why is it backwards???
Also, colors are messed up. I was unable to get the exact colors as in the original Material. So decals with alphas are not usable for me at all.
npc99: You will never get 100% control as colors will be adjusted by in-scene lighting and color grades. Also will be darkened by underlying normals.
npc99: I've not had major color distortions, but I just cut up TW textures.
Setup a Decal Material
In the Resource Browser:
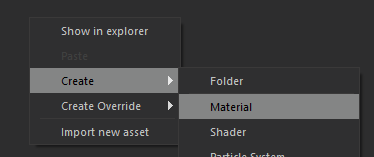
Set shader as decal:

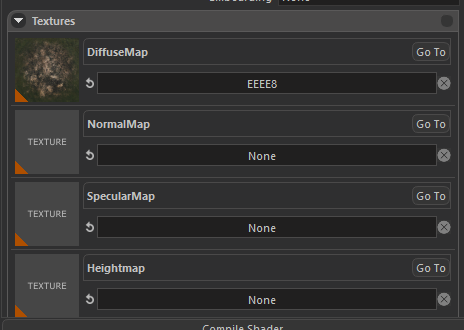
Set your texture for the DiffuseMap:
Mark these flags:

Check render_on_objects if you want to see the decal in the Material Editor

turn it off if you don't need a decal on the objects but only on the terrain.
The official guide tells to enable these:
Mandatory Settings at the ‘Others’ Tab. In order for the decal to be rendered correctly, “Cull Front Faces” and the “Don’t Modify Depth Buffer” flags should be enabled.
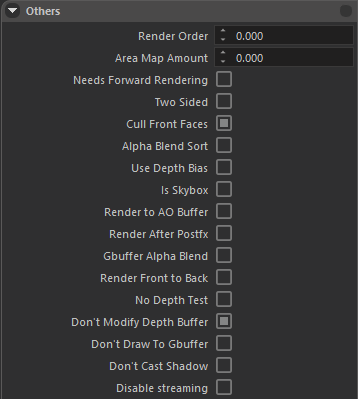
My texture worked without these settings just as fine as with them.
Transparency
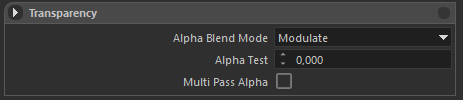
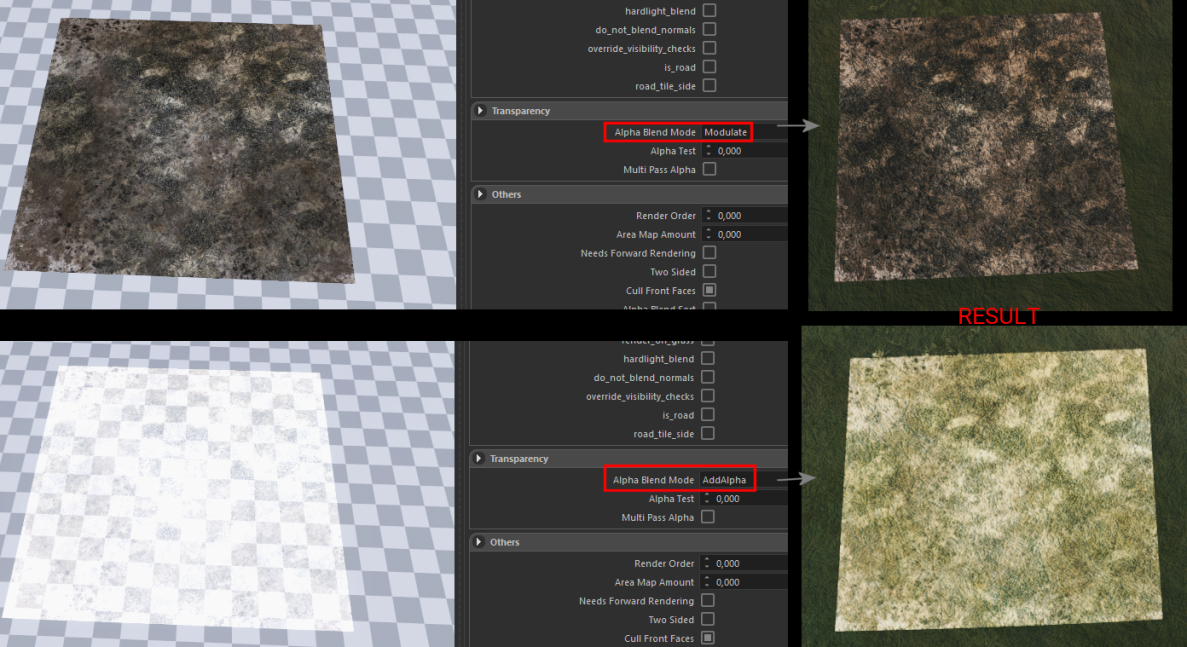
To use a decal without transparency/alpha channel BUT with almost exact colors as in the original texture use this:
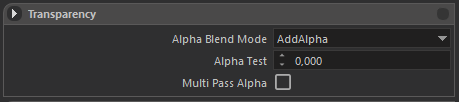
To use a decal with transparency, but with messed up colors use this:
This is what I get:
Setup Decal Prefab
The official guide tells:
To create a decal entity/prefab, a specific mesh (Decal Mesh) should be added to an empty entity.
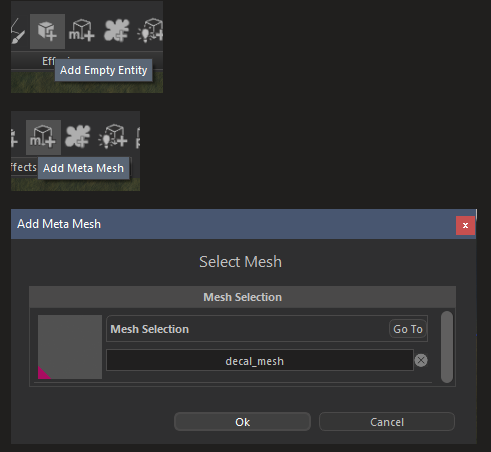
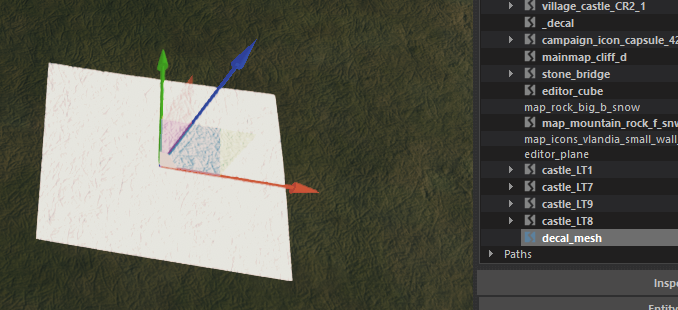
Another way - find decal_mesh in the Resource Browser:
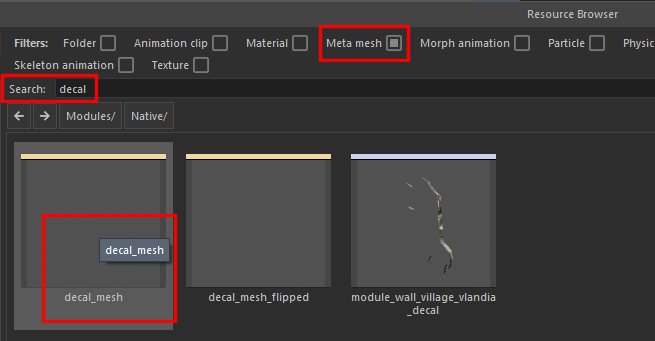
and drop it on the map. After that, it looks like this:
Then the material of that mesh should be changed to the material that we prepared before:

change these:
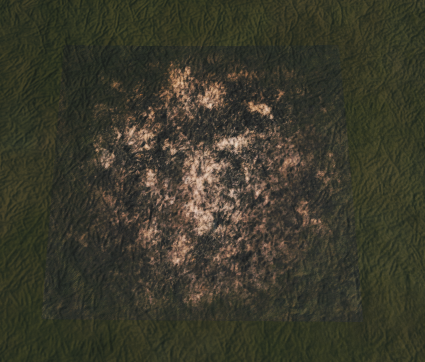
And decal should be visible in the scene.
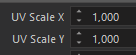
To adjust settings in the Texture/Material Editor and see changes in the scene almost instantly use:

This is my personal experience. If you have something to add/correct me - please let me know. I will update this guide and hope it will save somebody a great amount of time in the future avoiding the same blunders I had.